All backpacking enthusiasts have their own opinions about tents and other gear. I have my preferences, but my intention in this article is to provide objective information from which you will be able to decide for yourself.
The first consideration is whether you even need a tent. Depending on the season and location, a tent may not be necessary for shelter from the elements, namely rain, wind, and insects.
I have spent many a night sleeping under the stars (too lazy to setup my tent, most likely) but with my tent nearby, just in case. And, a simple poncho rigged as a lean-to might be enough to stay dry. The other consideration is the insects and creepy crawlers. This depends primarily on season, location, and perhaps altitude.
The vast majority of my backpacking experience has been at or above the tree line (about 9,000 feet) significantly reducing concern for mosquitoes and critters like snakes and scorpions. My greatest apprehension is making camp in areas heavily infested with mosquitoes.
Types of Backpacking Tents
Tents designed specifically for backpacking must be evaluated in three sub-categories:
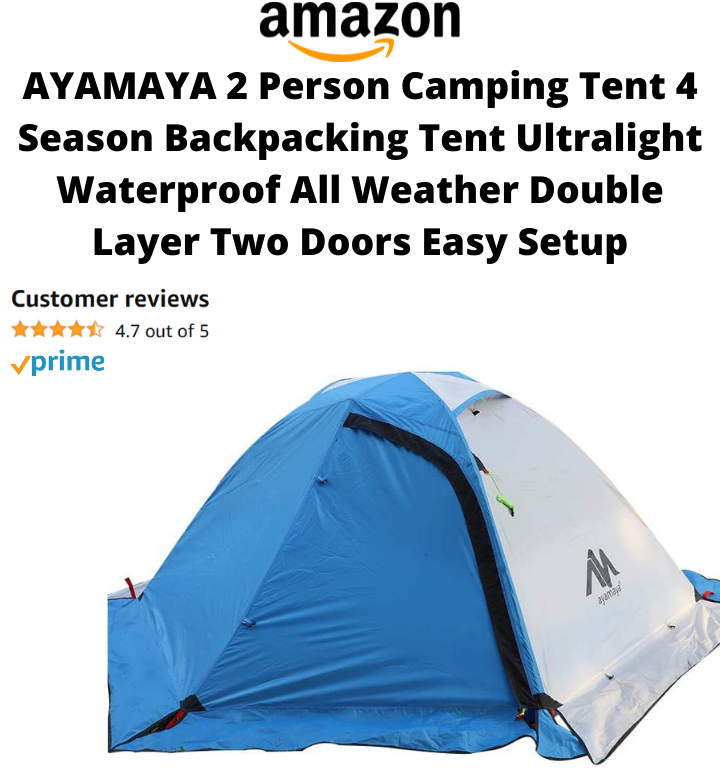
1) The typical dome style tent which usually are considerably lighter than what you might purchase for car camping.
2) Swag style tents which are low profile and range in weight from better for car camping to acceptable for backpacking.
3) Ultra-light tents for those planning longer trips and must sacrifice tent weight for the weight of additional provisions.
The more popular dome tents differ in price, quality, size, and weight. The less expensive dome tents have a tendency to “pancake”, or basically collapse in high wind, but they are generally lighter.
More expensive dome tents have tent poles which are larger in diameter and reinforced fabric sewn into each of the corners around the floor of the tent for added strength. The rain fly is assembled with two poles instead of just one pole allowing extra strength against wind.
My preference for a dome tent would be to go with one of the less expensive models. The smaller the profile, the better it will stand up against higher winds. And, it should be lighter as well.
Swag Style Tents
I like the swag style tents as they are low profile and are highly effective in windy conditions. Swag style tents for backpacking are typically more expensive and would make a great upgrade to your backpacking inventory. Although the extra shelter is not necessary, it saves the extra time it takes for the tent to thoroughly dry out after a good downpour.
All tent types for backpacking can be expensive, several hundred dollars is about the average. And, when it comes to considering a tent based on its weight, consider durability. The lighter the tent means the materials it’s made of are also lighter and therefore more fragile.
Setting Up Tent
Regardless of tent type (but especially true of the ultra-lights), extreme care must be taken to ensure material on the ground is cleared and that nothing but sleeping pads and sleeping bags enter the tent to prevent punctures or tears.
I don’t care much for setting up tents in general, backpacking tents in particular, especially after a day’s hike. Setting up a tent is not complicated; it’s simply all the work that may not be necessary.
Tent Stakes
Another con for conventional backpacking tents is the tent stakes. The cheap wire or plastic tent stakes which come with your $200.00 backpacking tent are not enough to keep it anchored in high wind (imagine chasing your tent down a 500 foot ravine).
So, what’s the first thing you do with these crappy tent stakes? Throw them away as soon as you unpack your new tent for the first time. (I recommend setting up and testing all new equipment at home rather than wait until you are on the trail).
My solution is to cut four (or how ever many) 12 inch lengths of 3/8 inch aluminum tubing. Use a hacksaw to fashion a sharp end on each stake. You will need to take care not to puncture your pack or other equipment when packing the stakes.
Another Option
The best option is to roll the stakes along with the tent poles into the tent. For harder ground use steel tubing in place of aluminum. Use care when setting the tent stakes, a fist sized rock for a hammer should do the trick. Secure all tent stakes by propping a smooth rock on top of each stake, but use extreme care not to puncture or tear the tent especially at the anchor point.
Tip: You’ll probably wonder why I suggest repackaging most provisions in plastic zipper bags later on in this guide. Having a few extra one gallon bags with sand make excellent anchors in case there are no handy rocks to do the job. And you can use them safely to anchor the corners inside the tent without concerns about tearing the tent floor or walls.
Another tent stake option might be the auger style stake which “screws” into the ground…
Yet another choice is sand stakes for softer ground conditions…
Your decision on the type of tent stake you use will depend on the terrain of the area you will be exploring. I recommend carrying a set of all of the above tent stake types and make your decision at the trailhead as to which type is most appropriate.
Lightweight Tents
Since there were virtually no affordable lightweight tents exclusively for backpacking available back when I began backpacking, one had to get creative.
I recall some of my fellow Scouts bought used parachutes from the Army-Navy surplus store, and with mom at the sewing machine, manufactured some pretty impressive water resistant tents much like the kind found in sporting goods stores today, and for a fraction of the cost.
The drawbacks of the tents available forty years ago ultimately led me to my preference for a backpacking tent which I still favor today.
Tube Tent
As for my preference for a backpacking tent (no laughing please, this is for real!), is the “Tube Tent”. While impressive, the home built tents were usually pretty heavy and along with whatever one could use as tent poles (usually old fiber glass fishing poles cut to length) were bulky making them awkward to pack and carry. The tube tent is one of my all time favorite inventions because of the simplicity of the concept.
I always have a “two man” sized tube tent for myself, weighing in at less then a pound. The additional weight of the two-man versus the one-man tube tent is well worth having the extra space to keep my backpack and the rest of my equipment dry.
Tube tents are nothing more than heavy gauge plastic sheeting in the shape of a cylinder about eight feet long and six feet in diameter. The typical configuration is to string cordage through the tube tent and tie off both ends to a tree or a branch wedged into a rock pile.
Tip: throw away the cordage which comes with the tube tent. Use at least 1/8 inch diameter, 40 lb tensile strength which I recommend in the equipment list in Appendix A.
Finding Location
Since most of my backpacking ventures are typically at or above tree line, finding a couple of trees, or even one tree, in a flat location can be few and far between especially if I really should be using an existing campsite.
In this case, I improvise by stringing cordage through the tent securing one end to an anchor point on the ground using either a sizeable rock or an improvised stake made out of wood with a carved point. I fold about five or six inches along the width and anchor with rocks effectively sealing the one end.
I use my fishing pole as a tent pole for the other end and tie off a guy line again secured by a rock or an improvised stake. The front two corners are anchored with rocks completing my shelter. The wider the tent is configured means it will maintain a lower profile which helps in high winds. Two guy lines may be required to adequately anchor the tent “pole” in high wind conditions as well.
Tips for Backpacking Tents
Tip: When scavenging for rocks to anchor my tent or when building a fire ring I am always vigilant for scorpions, centipedes, and other creepy crawlies clinging to the underside. I wish I had a dollar for every time I’ve found one.
I use a few clothes pins to attach the poncho to the open end of my tube tent thereby creating a door closing off the tent from rain and wind. The tremendous advantage of a tube tent is that the surface is absolutely water proof. One downside is that plastic does not “breathe”. It creates a considerable amount of condensation inside the tent unless some air circulates through the tent. Otherwise, I just have to be careful not to touch the sides.
Tip: Use 30 gallon trash bag to cover your backpack from rain if you can’t otherwise shelter it in tent.
For buggy and creepy crawler conditions, I use cheese cloth instead of, or in addition to, poncho as my door. This is not only effective at reducing insects and other uninvited guests, but allows breathing which significantly reduces condensation.
Tip: Cheese cloth is a “double duty” item. Use cheese cloth to filter drinking water when filling your water bottle.
Final Words for Selecting a Tent
When selecting a tent, consider the process of packing a conventional backpacking tent versus other options. For example, will your new backpacking tent actually fit into the stuff bag it came with? (Hint: I have never successfully repacked any tent into the original stuff bag). You may have to purchase a larger stuff bag. I recommend setting up a new tent (and any other gear) at home before your next trip. And, roll the tent around the tent poles and stakes.
This insures the poles and stakes will not separated (lost) from the tent. This helps make sure the sharp ends will not puncture the backpack. And it makes it easier to pack the tent into the stuff bag.
Note: confirm tent measurements to make sure a “two person” actually has enough space to accommodate 2 persons. Often times 2 person tent may have only enough room for one person and maybe a backpack.